


I asked around to find out what photography questions y’all had, and this was a frequently asked one. Or, “how do you take those photos with blurry backgrounds? When you want to take a picture of something, but everything else is kinda ugh and you just want a pretty picture?”
There are really two ways to achieve this — either using manual settings on your camera, or in post-production using Photoshop or some other photo editing software. Today, I’m talking about the first one.
Say hello to your aperture dial.
Aperture controls the depth of field. The depth of field is the distance between the closest and farthest objects that are in focus. If you have a large depth of field, that means objects that are very close and very far (and everything in between) are all in focus. If you have a short depth of field, that means that only a sliver of the photo is in focus.
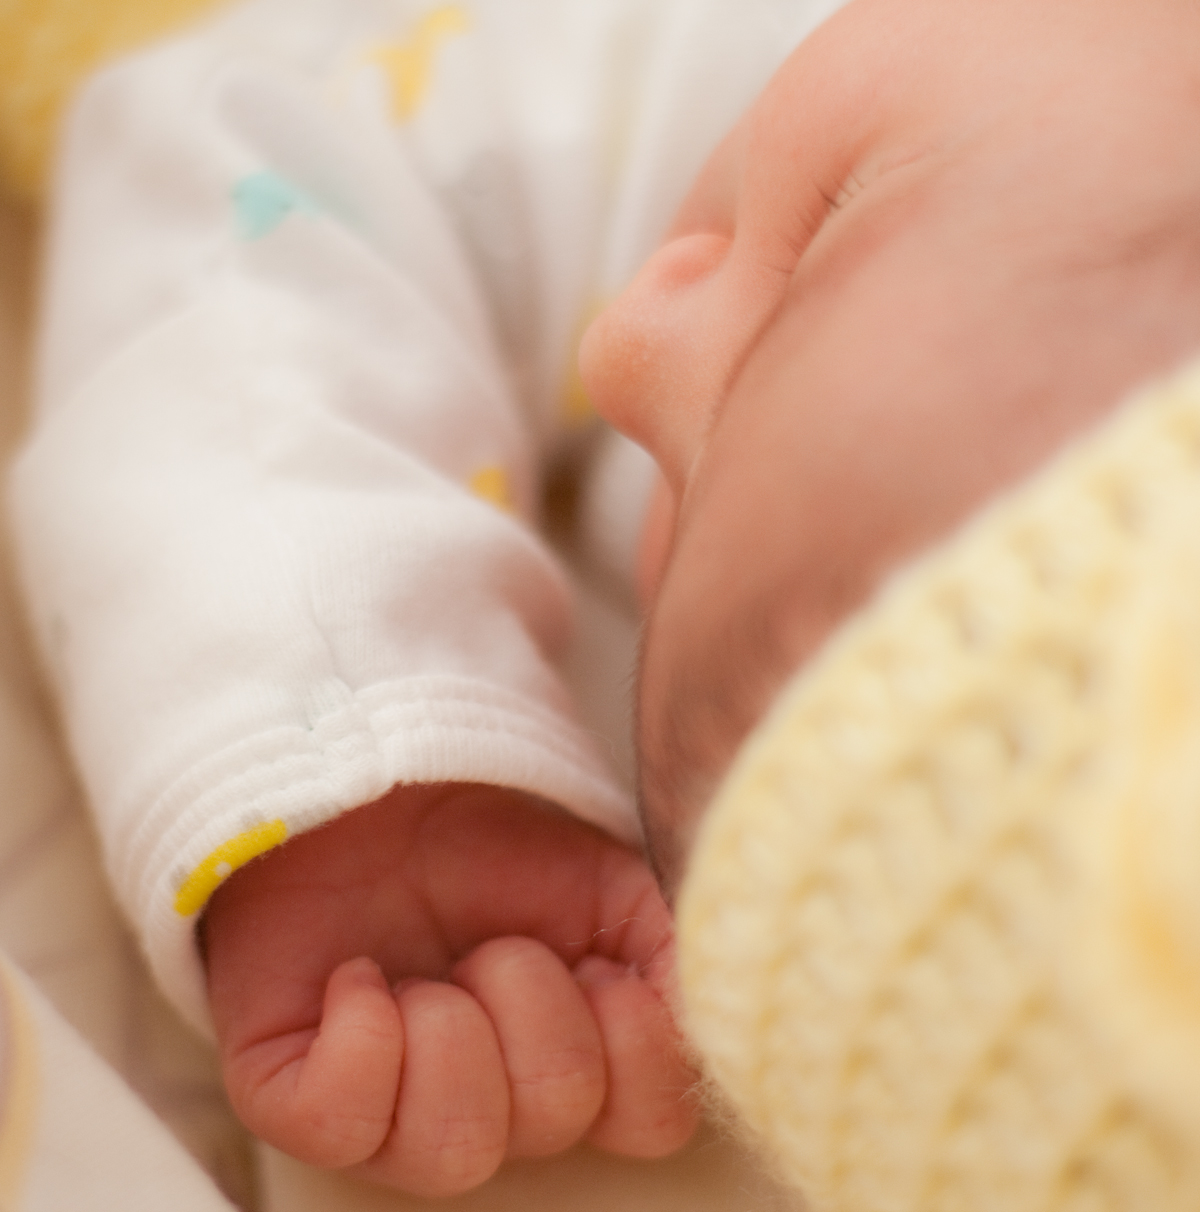
I like to use aperture as a way to focus the viewer’s attention on a certain element in the photo. It’s like shining a flash light on one part of a photo. I recently took photos of a friend with her newborn son. I got the first standard photos out of the way (get it out of your system) and then I started playing. I noticed the way she looked at her son, and took photos with a shallow depth of field (f/4) so only her face was in focus; her son’s head was a blur of baby fuzz and cotton. I also took photos of the sweet peach fuzz head of his, because oh dear Lord, we should all remember the peach fuzz head of our newborns.
Likewise, if you’re out at the park, and just want a photo of your own kid and not the random bbq party going on behind her, use a shallow depth of field so that your kid is in focus, and the party behind her is not.
On digital cameras that can go manual, figure out how to adjust your aperture settings. If your camera doesn’t have a manual option, you may be able to use a setting for macro or portrait photography.
A large aperture (f/1.8) means a small depth of field. Using f/1.8 gets you those Pinterest-worthy photos of cupcakes. A small aperture (f/18) means a large depth of field — think fields of sunflowers with mountains behind them, all in focus. Yes, the vernacular is a little confusing. You get used to it after a while.
Your camera’s aperture settings are determined by your camera lens. Some lenses can only go down to f/4.5 and no further. Some (usually expensive lenses), go down to f/1.5.
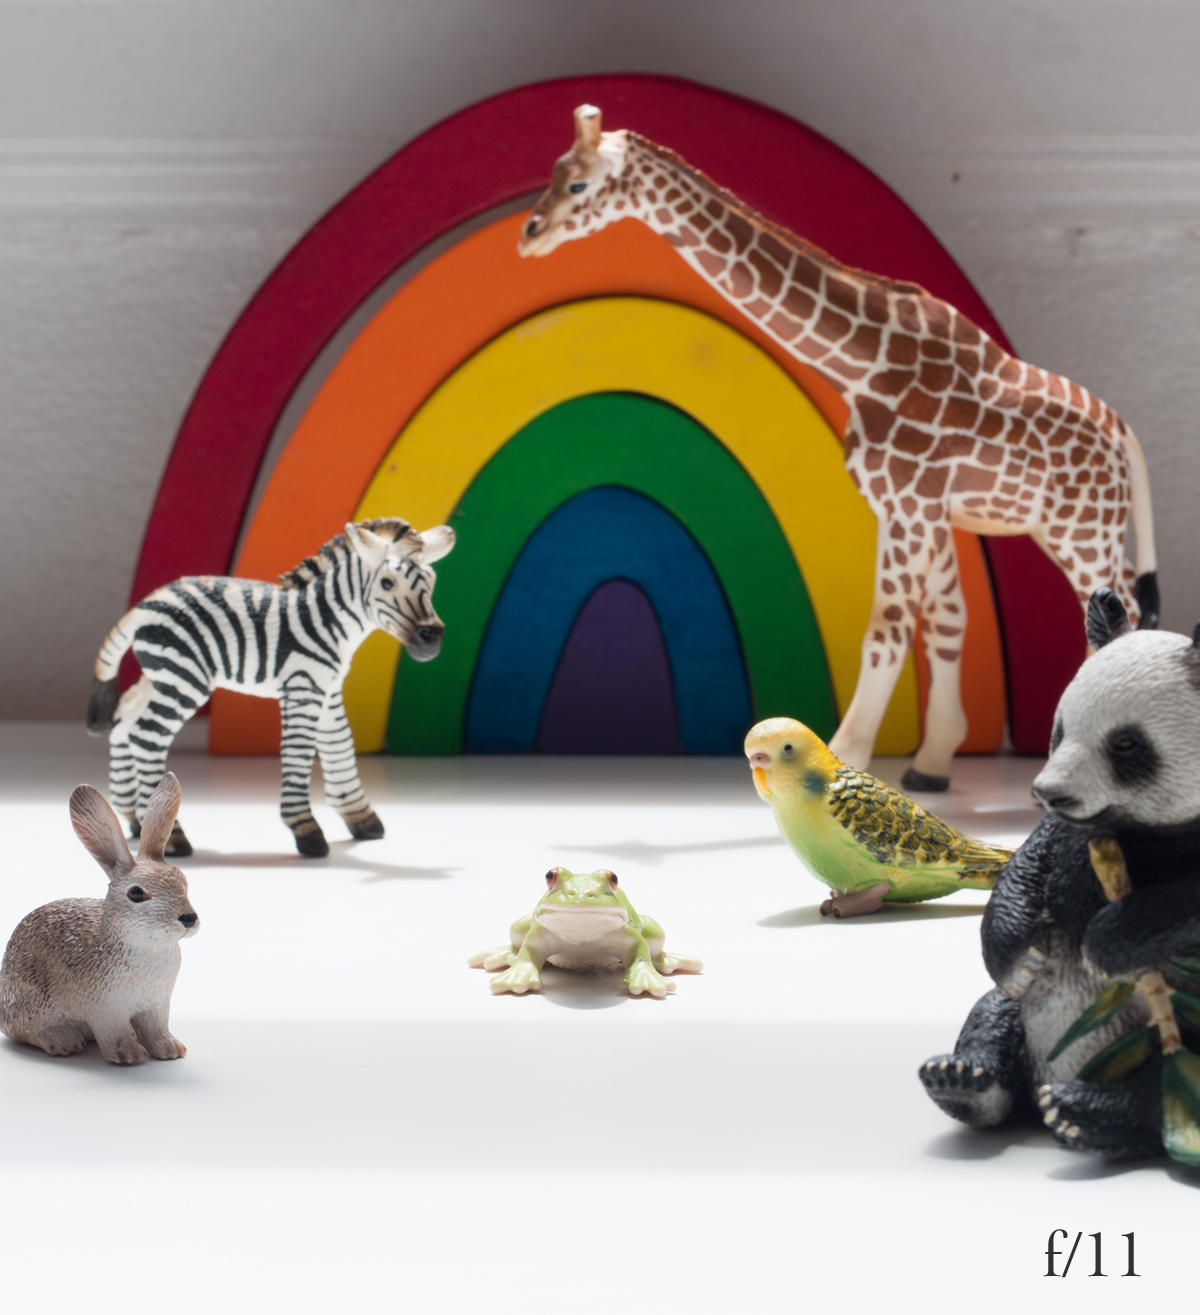
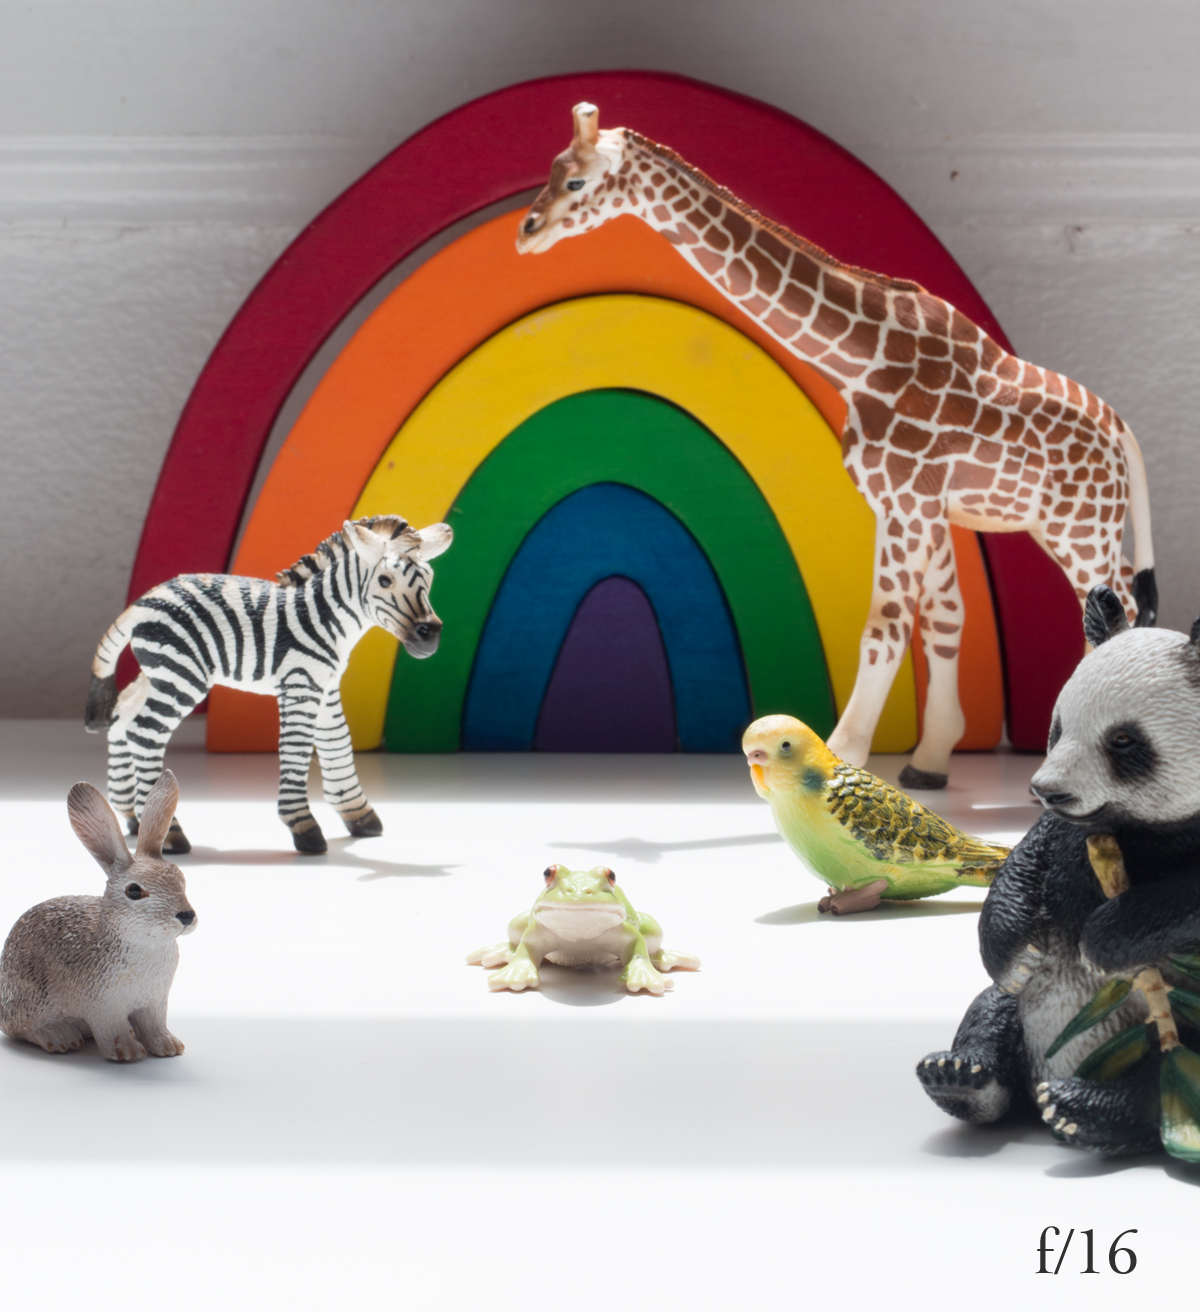
I set up a little still life to show how aperture works. I started with an aperture of f/1.8 and changed the dial up to f/18. Look at how different animals come in focus at different apertures.
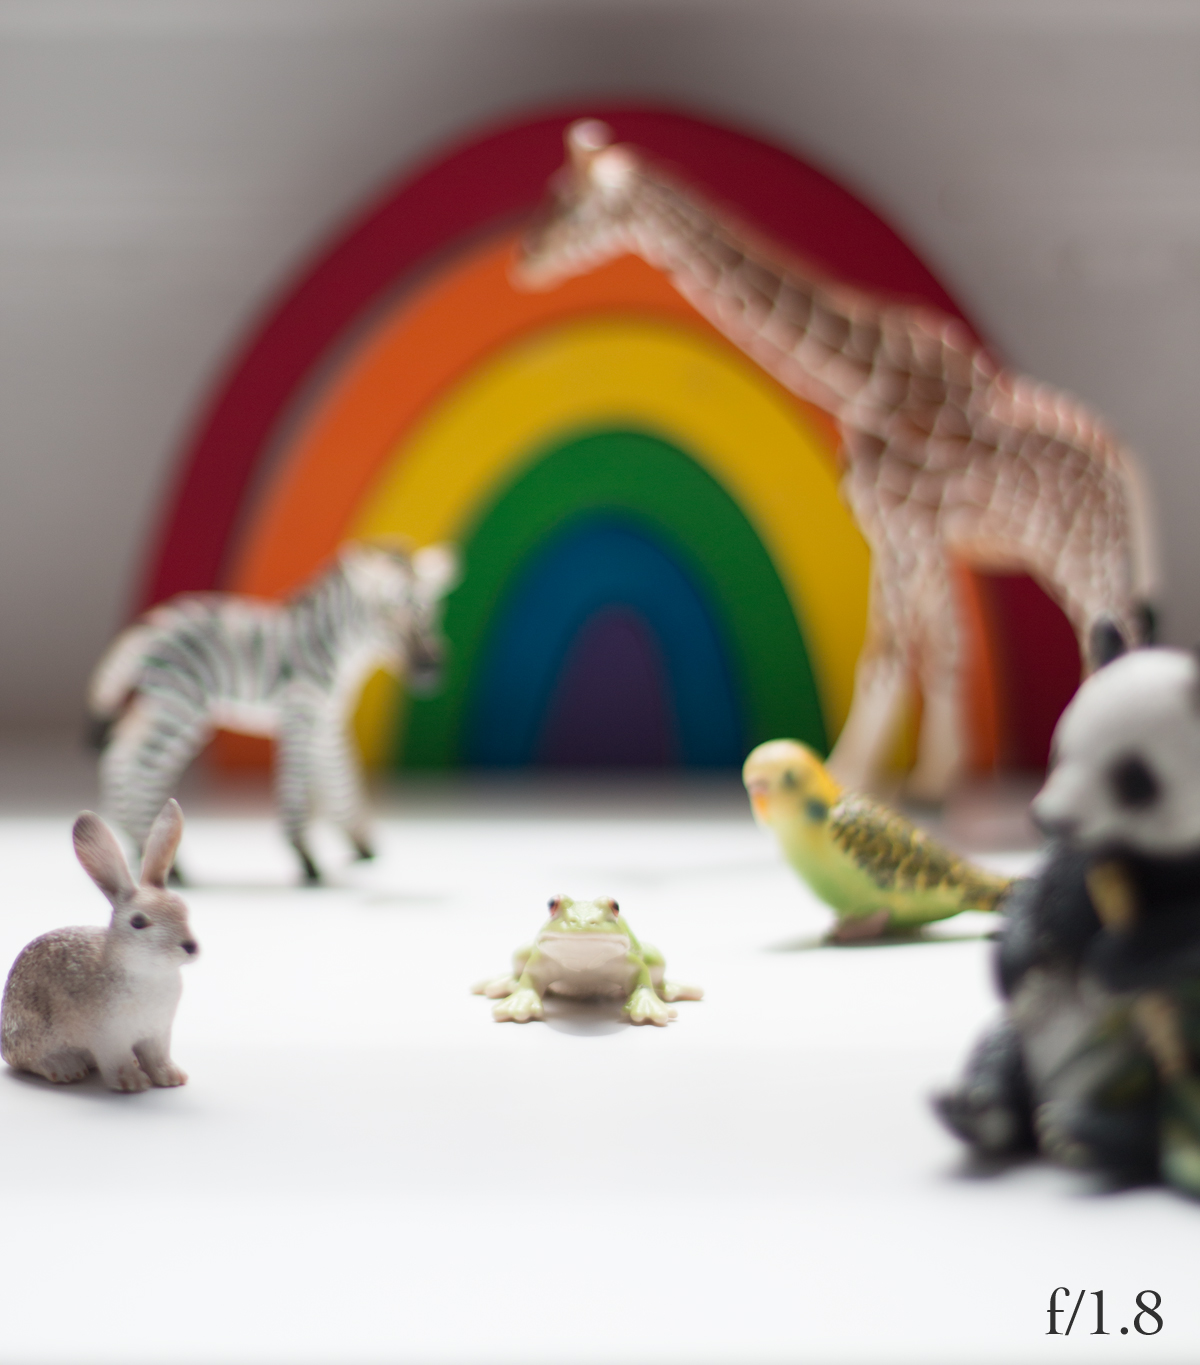
No one is really in focus. For reference, I’ve focused on Frog’s eyes. Aperture set at f/1.8 doesn’t work so well for extremely close-up photos like this.

Bunny is coming into focus.

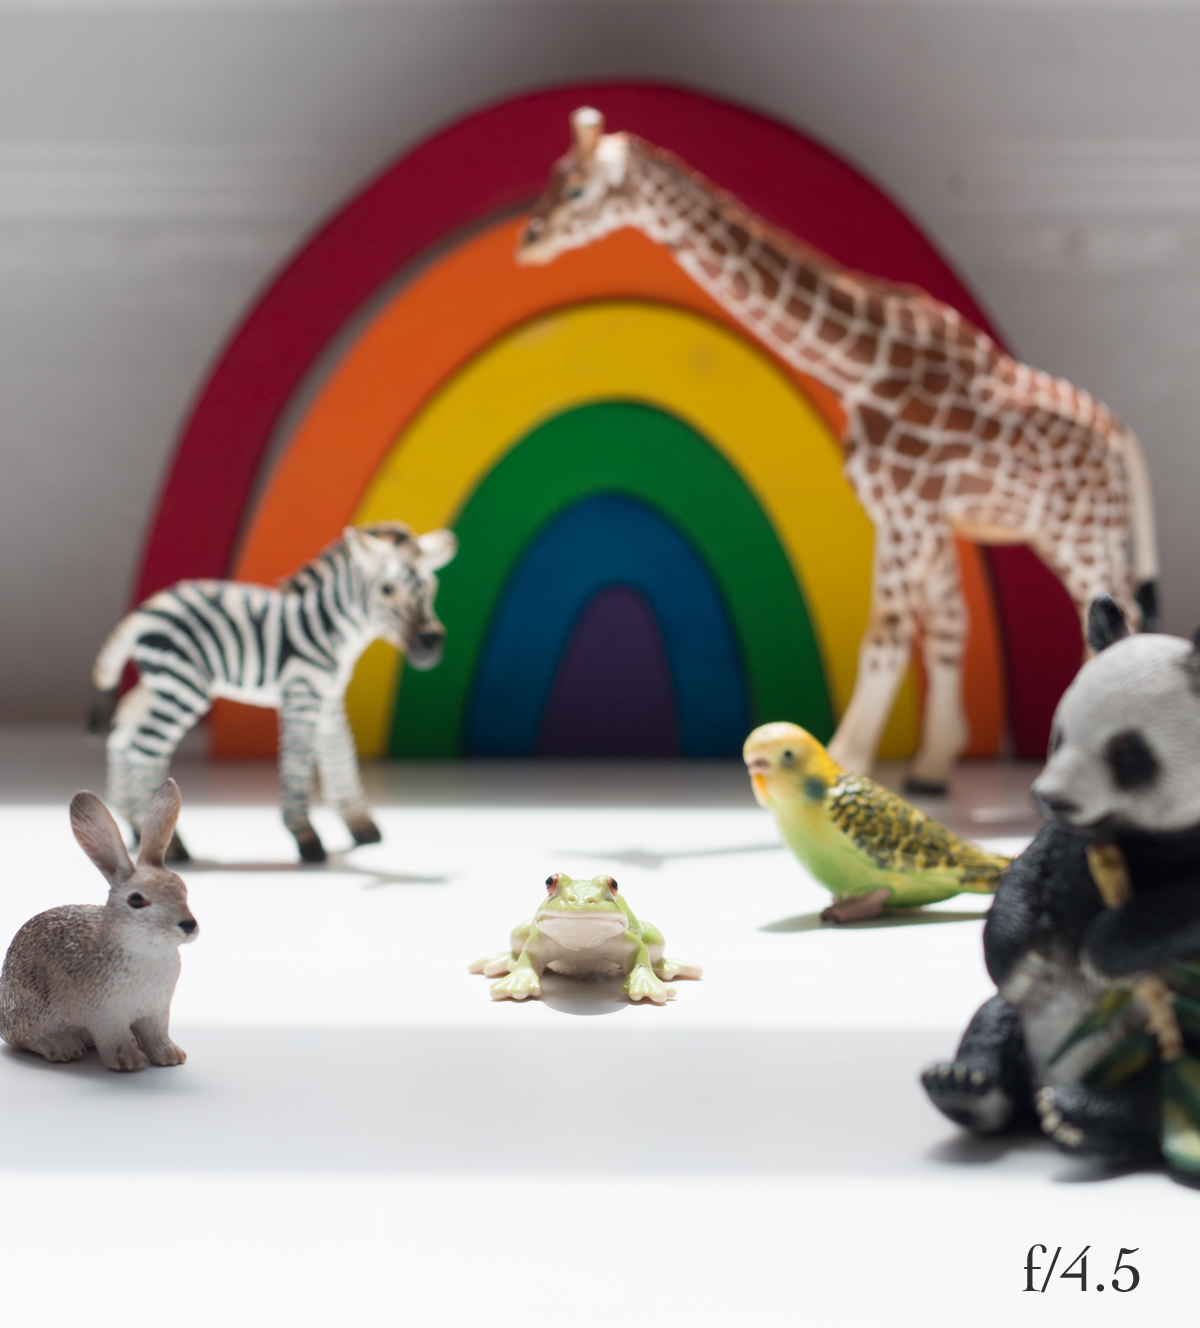

Parakeet is coming into focus, as is Panda’s right arm.
You can now see the texture on Zebra.

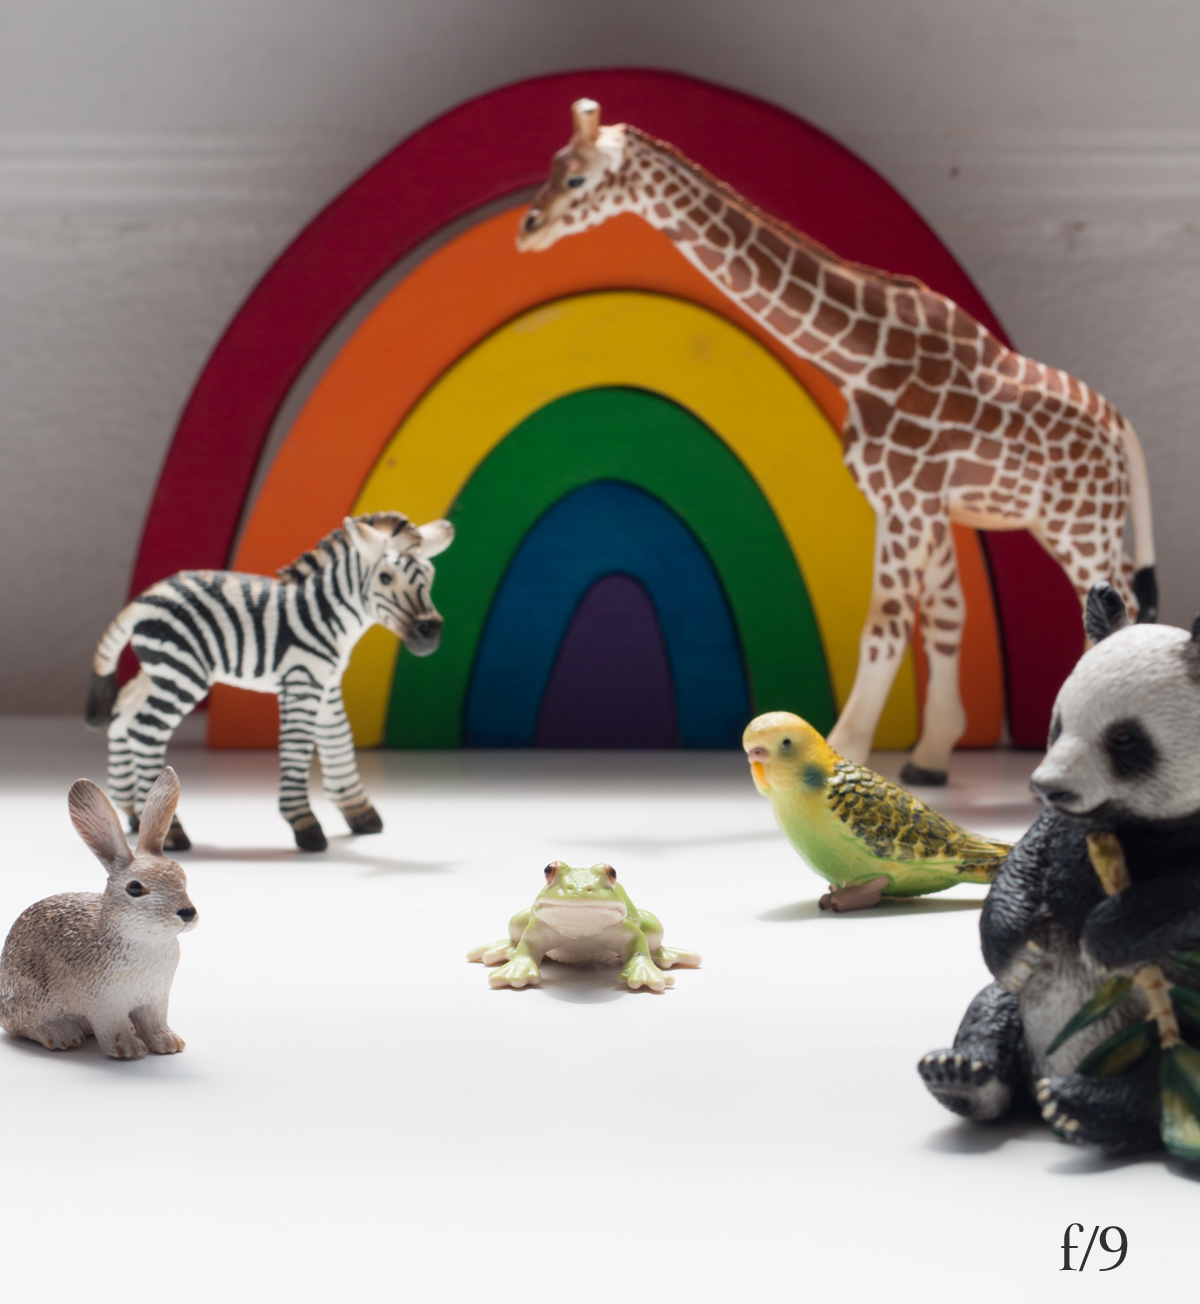
The animal family is now getting sharper and sharper, and you can see some imperfections/texture on my wall and rainbow.

And now you can even see the wood grain on the rainbow.
So, as you “increase” the number on your aperture setting, more comes into focus.
Which one do you want to use when? Well, that’s kind of the art of it all.
When you want to take those close up photos of cupcakes and whatnot, go with f/2.5.
If you want to take cute photos of babies, with the diaper stash in the background blurred out because no one wants to see that? Go with f/4 or so, because you want most of baby’s face to be in focus at least. Or maybe you don’t! You want a close up photo of eyelashes, where the rest of baby’s face is out of focus? Stick with f/2.5. (Yes, treat little squishy baby faces like a Pinterest cupcake.)
If you’re walking around the street and find something interesting, but the background is unattractive or you want some depth to the photo, go again with f/4.

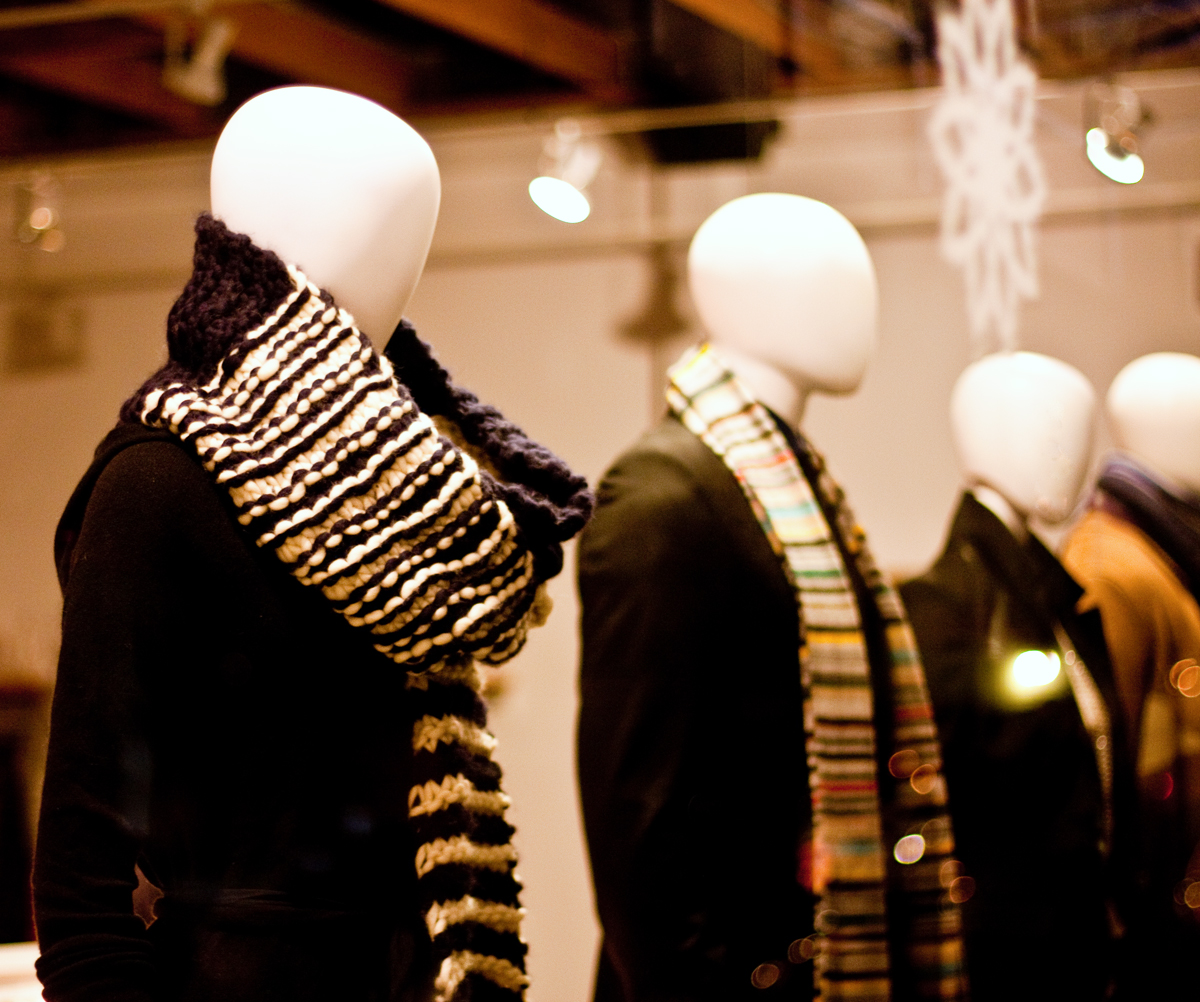
But, maybe the background is also kind of interesting so you just want it to be out of focus enough that you can kind of see it, but it’s still slightly blurry, so that people can tell it was the background — f/8.
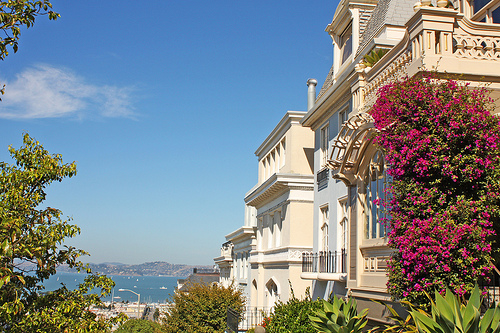
Or, maybe the background is the San Francisco Bay and you want Grandma’s face as well as the bay in focus? Go with f/11.
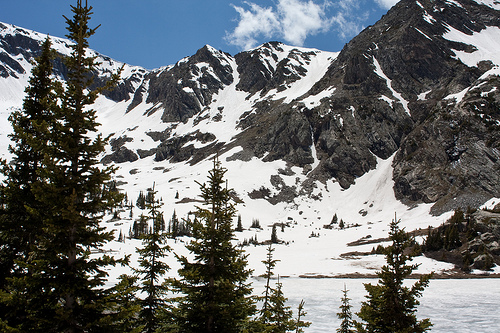
Or, you have a stunning view and you want the alpine lake in focus, and the snow-capped mountain in focus, everything in focus because this is the most remarkable thing you’ve ever seen. F/16. (And, ok, there is more to taking photos at very low apertures than turning the dial up. We’ll get into optimal focal lengths some other day.)
Is this making sense? I hope so. I promise if you play around with your aperture setting, you’ll figure it out soon enough. Once you’ve figured out how it works, it’s time to start intentionally composing photos. This is where manual cameras get really fun.

Tk
Love the photo examples. Great explanation! I actually know something about aperture now. Extremely helpful!
8/15/2015 at 6:18 am
Maria
Thank you! Aperture is pretty fun to play with once you figure out what it does.
8/15/2015 at 10:43 am