


I’ve been feeling the paper holiday decorations this December. In past years, I’ve wrapped ribbons around anything that could hold them, strung lights from all the picture moldings, but smooth, crisp paper has struck a cord with me this year. It’s simple and modern without being stark. I like it’s temporal nature, knowing we can totally change up our holiday look next year if we want.
Bean and I worked on this garland last week, during one of San Francisco’s recently rainy days.
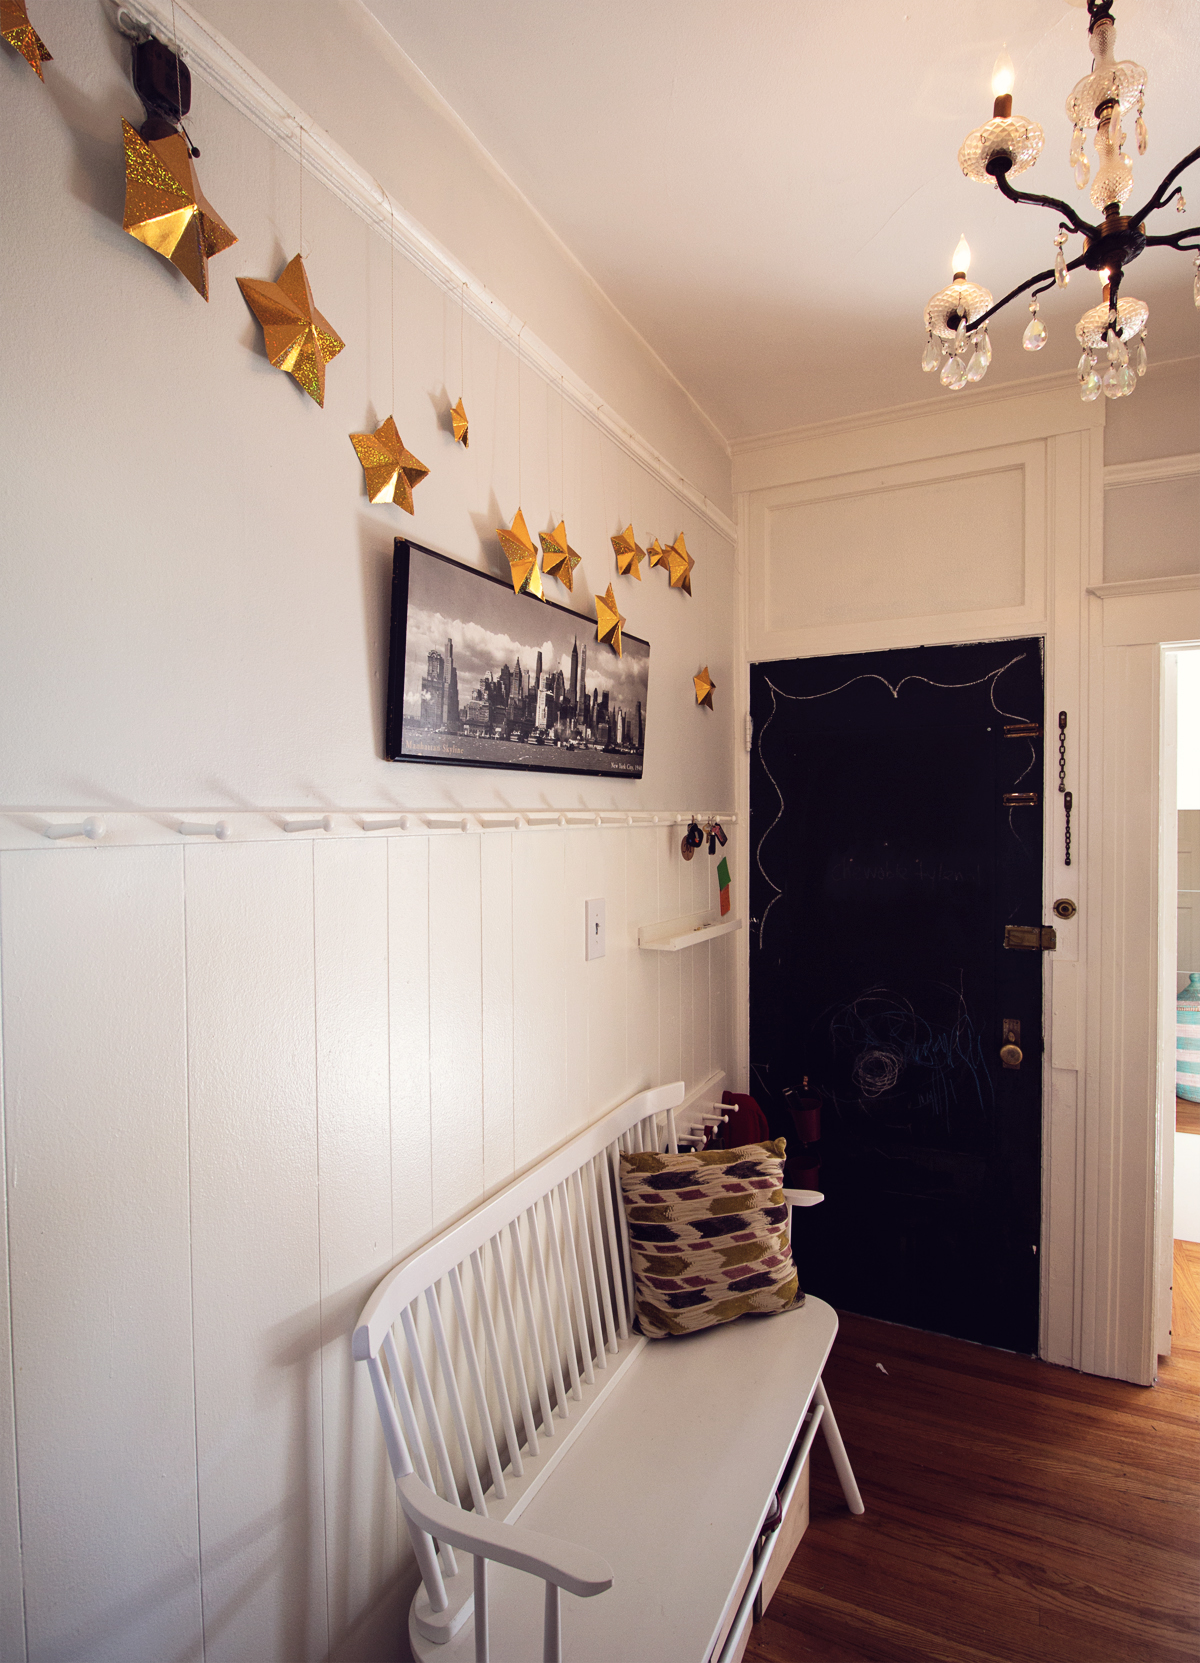
Our entryway is all modern neutrals — white, grey, and black — so I appreciate the glittery, warm pop of the stars. Actually, I’m debating keeping them up year round.
To make them, we bought gold poster board at Walgreens (I’m pro resources I can buy down the street). I used a glittery gold baker’s thread, but it’s not actually noticeable. I’d use my normal baker’s thread or white twine next time.
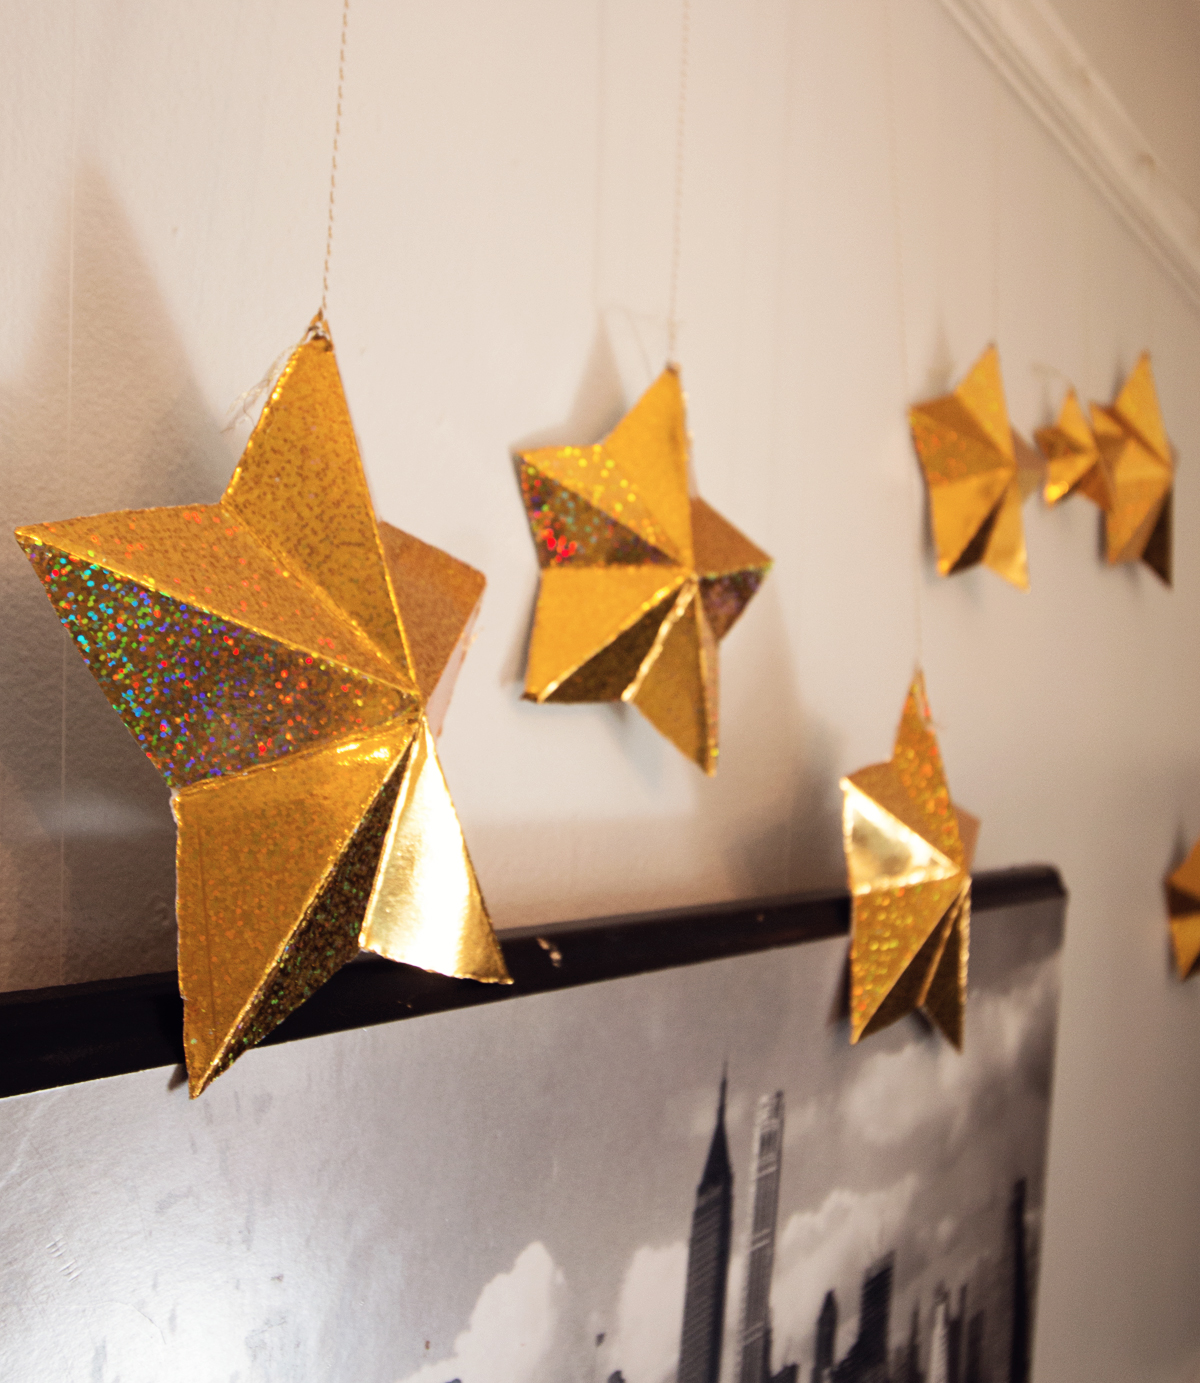
First, I cut out squares (8 inch, 6 inch, and 4 inch squares) then folded them into stars using this short, easy-to-follow video tutorial from Oh Amanda. FYI, this is a great way to blow a toddler’s mind. “MOMMY, YOU MAKE A STAR.” While I sat cutting out stars, Bean arranged sea star families on the sofa.
Then Bean helped me cut lengths of string. I wanted them to hang at random lengths, and there’s nothing more random than a toddler’s cutting prowess.
She also handed me each star in turn, again using her toddler know-how to acheive a random order of stars. Using a thick embroidery needle, I pierced the top of each star and tied a knot, then tied the star to a string that ran the width of the room. I spaced the stars about 6 inches apart.
And that was it! Now we have a glittery star garland to welcome us home.
