


When Dave and I moved into our apartment, we had A) no idea rents in our neighborhood would double in the next 2 years or B) that we’d be raising a kid here. But, like a lot of people in San Francisco right now, we’re making due with what we have. And what we have is a micro-nursery.
Thankfully, San Francisco architecture lends itself to micro-nurseries. Our Victorian and Edwardian apartments are full of tiny rooms and nooks, that have no clear purpose. (We have a “sink room”; it’s exactly what you’re imagining.) Micro-nurseries can be converted walk-in closets, hallway nooks, or, like ours, an enclosed porch.
So, let’s talk about how you convert an unused nook into a micro-nursery
Walls and floor
First, it’s helpful to think of a micro-nursery as an actual nursery. Decorate it like it has four walls and you live in a sprawling house. You’re going to want to clearly define the space. If your landlord lets you paint, paint the nook. If you can’t paint, look into removable/temporary wall paper. Swag Paper has great stylish temporary wallpaper; here are some great options as well.
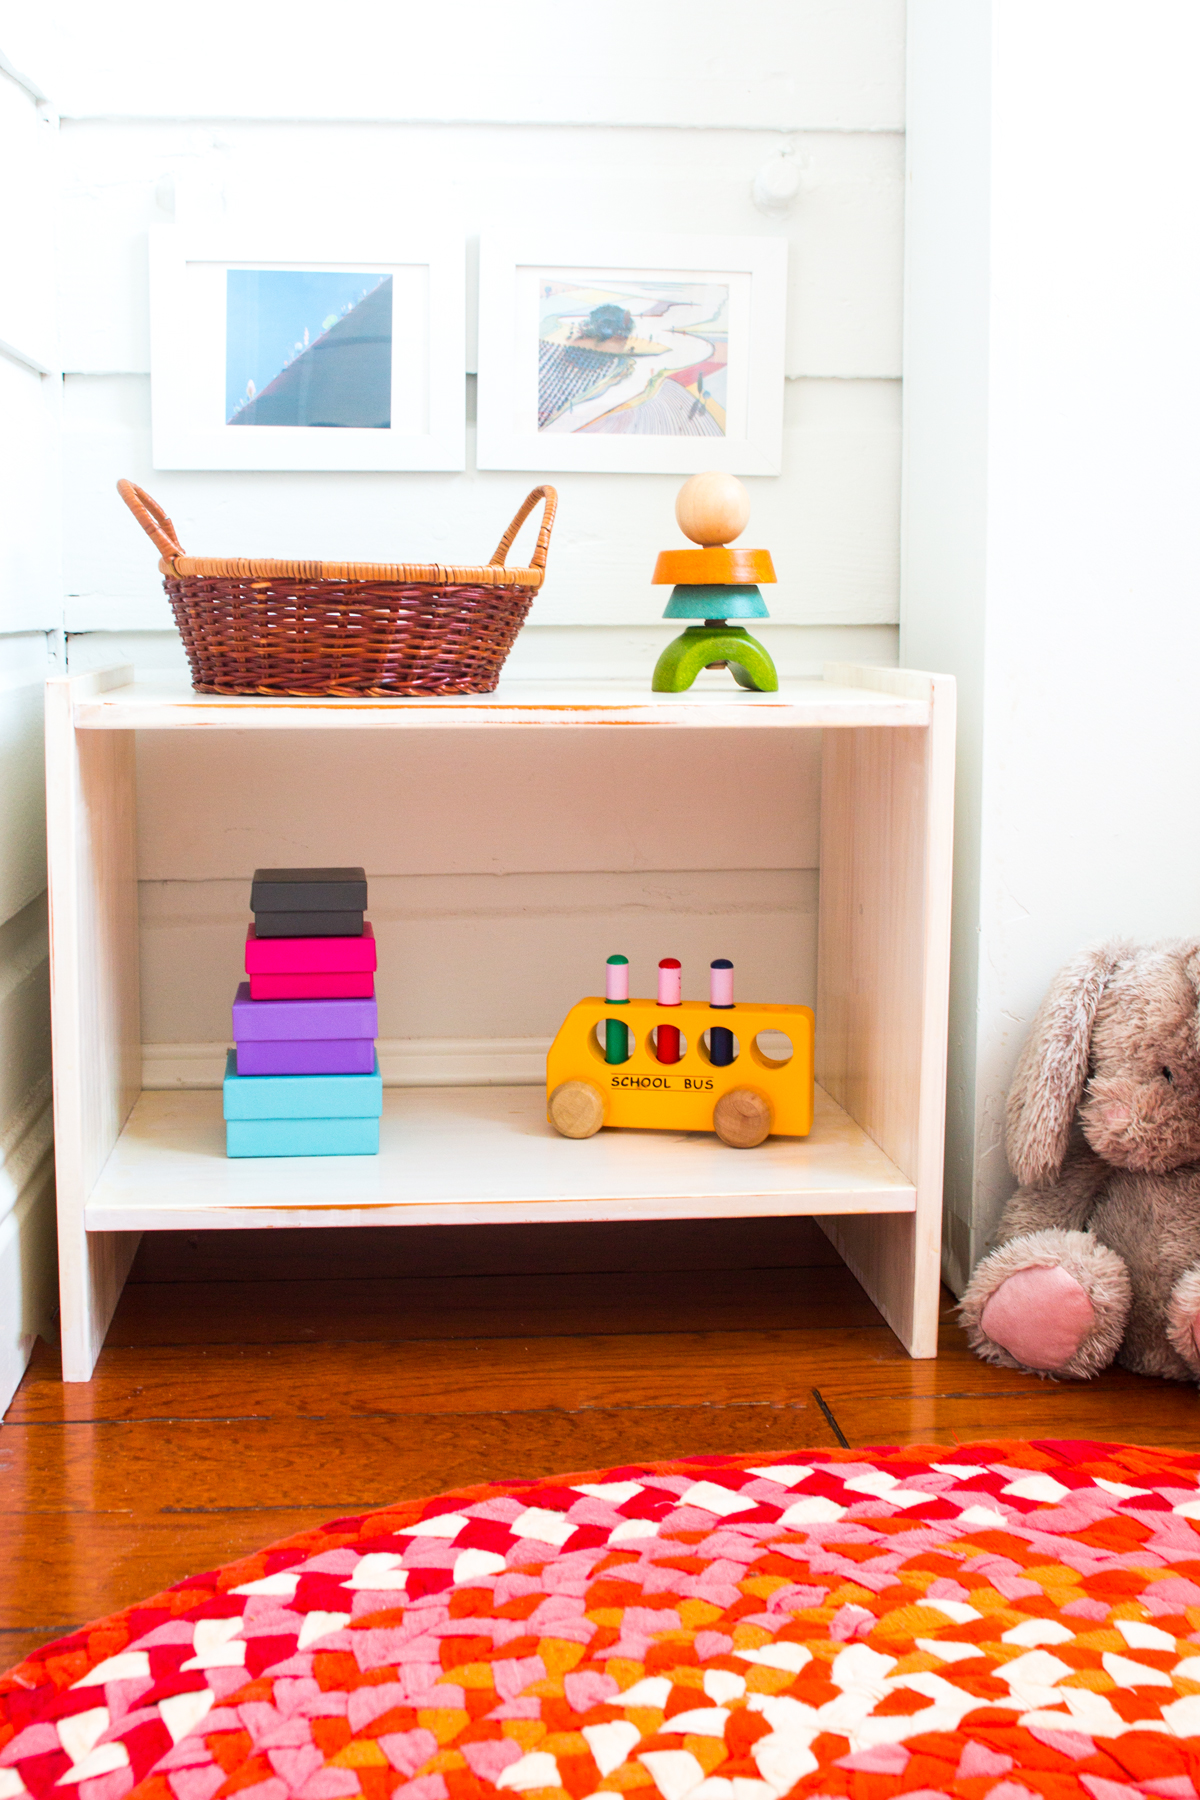
Also, think about the floor. Get a small, soft rug for baby to lounge on. The rug will also help distinguish the nook from the rest of your apartment.
Artwork and Curtains
Then, think about artwork and curtains, if you’re lucky enough to have a nook with a window. Friends of ours are adding a mural of the Golden Gate Bridge to their micro-nursery, a perfect way to define the space. We added super feminine light green toile curtains to our micro-nursery. Again, decorate it like it’s a real nursery — go all out.
Now that you’ve created a space, you need to fill it.
Crib
The only thing baby really needs in her room is a bed. Ikea’s Gulliver is a well-reviewed simple crib with no frills. (Frills take away inches of useable space. Ooh, and the new Gonatt and Stuva cribs even have drawers underneath.) All cribs use a standard crib sized mattress, so your baby will be just as comfortable in a simple crib as she would in a giant sleigh bed crib.
Alternately, you could look into a floor bed. Dave and I decided to use a floor bed from Michael Olaf instead of a crib (yes, from birth); we all loved it and it helped make Bean’s room much more accessible to her and it practically doubles her play area.
Shelving
You’re apartment or small home dwellers. You likely already know the benefits of vertical storage. Utilize every weird nook and stack it with wall shelves. The space above a doorway is an awesome way to add storage without adding visual weight and clutter to a room. (Obviously, you’ll want to steer clear of shelves above the baby’s bed — this is earthquake country.)
Now, fill those shelves with bins to hold all the baby essentials. (We have a few of these water hyacinth bins (size large), and they hold an unbelievable amount of stuff.)
A shelf at adult height can sub in for a dresser, holding a lamp, white noise machine, thermometer, and basket of middle-of-the-night supplies.
Best case, you’ll be able to fit in shelves that are at least 12 inches thick. It’s nearly impossible to find storage baskets less than 12 inches deep. Trust me on this one.
You may be thinking, “we have plaster walls, no shelves for us.” Plaster and lath walls are fairly common in San Francisco and tricky. Hang shelves in the wrong place and you might shatter a wall full of plaster. Not great. Shelves can be put into plaster walls, though, you just need to make sure to drill into the studs. (Never nail into plaster. You probably already know that.)
If you’re looking to avoid leaving behind a wall full of nail holes, Ikea’s Ekby Gallo brackets are my go-to. They only require two screws per post. They’re infinitely versatile — you can use wood planks cut exactly down to the right dimensions — and avoid wasting any wall space. I spray painted mine black.
We also incorporated a couple low shelves in our micro-nursery to hold a rotating cast of toys. Books go on a couple picture ledges from Ikea.
Aaaaand, that’s it? That’s really all you need. Bed, check. Storage, check. So, where does everything else go?
The changing table/ Diapering supplies
If you have the space and want one, you could get a changing table; some people swear by them. After watching our older siblings change babies on floors, benches, and tables (basically, everywhere but the changing table), we decided a changing table wasn’t necessary. While she was a newborn, we kept diapering supplies and a folded changing pad on a high shelf in her room. Once she was past the newborn stage, we moved all her changing supplies to the bathroom, an obvious location for such things.
Clothes
Again, if you can fit them, great. Friends of ours used this shoe storage solution from Ikea to organize their baby’s clothes — it’s perfectly narrow and clothes are easily stored in the bins. If they have to go somewhere else, it’s not a big deal. Bean’s clothes go in a linen closet down the hall. She’s a toddler; she doesn’t care where her clothes are.
Rocking chair/Recliner
Again, blah blah, if you can fit one and want one, I’m sure you’ll like it. But, not necessary and don’t fret if you can’t make it work. I nursed Ellie on her floor bed. I’m sure a living room chair down the hall would work just as well. You’ll figure out a routine that works for you. (Again, the benefit of a small apartment — it’s probably only a couple steps to the living room; not down a flight of stairs.)
If you’re thinking about doing a micro-nursery, know that it is perfectly doable. And it will be fine. And possibly incredibly cute.
